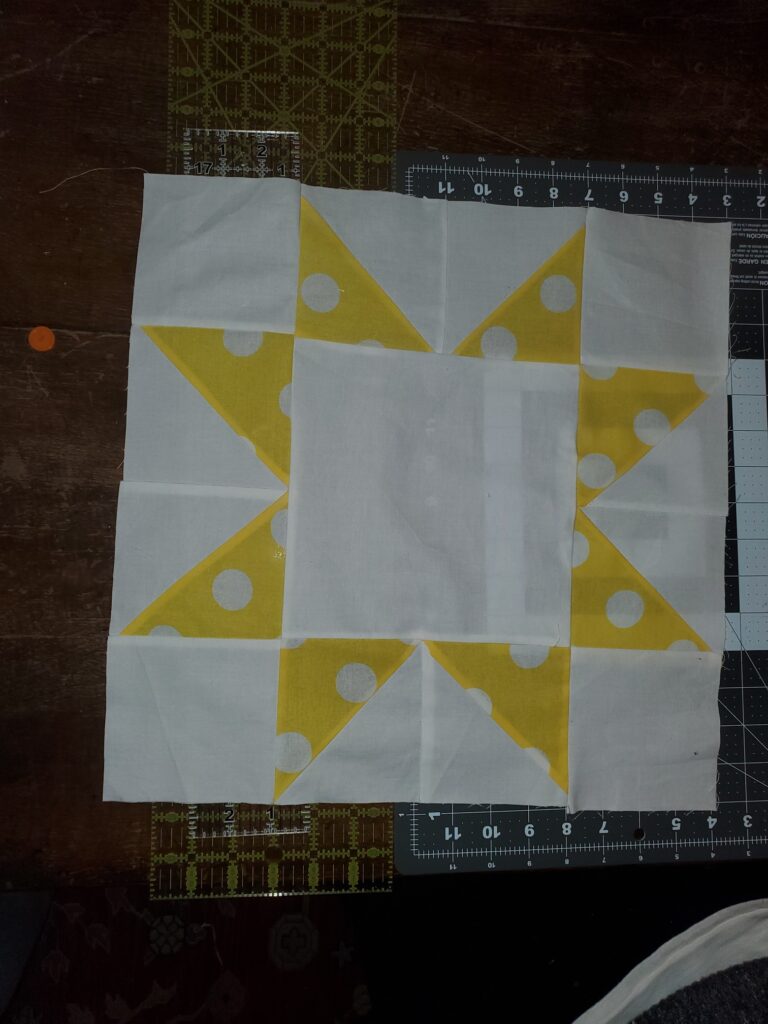
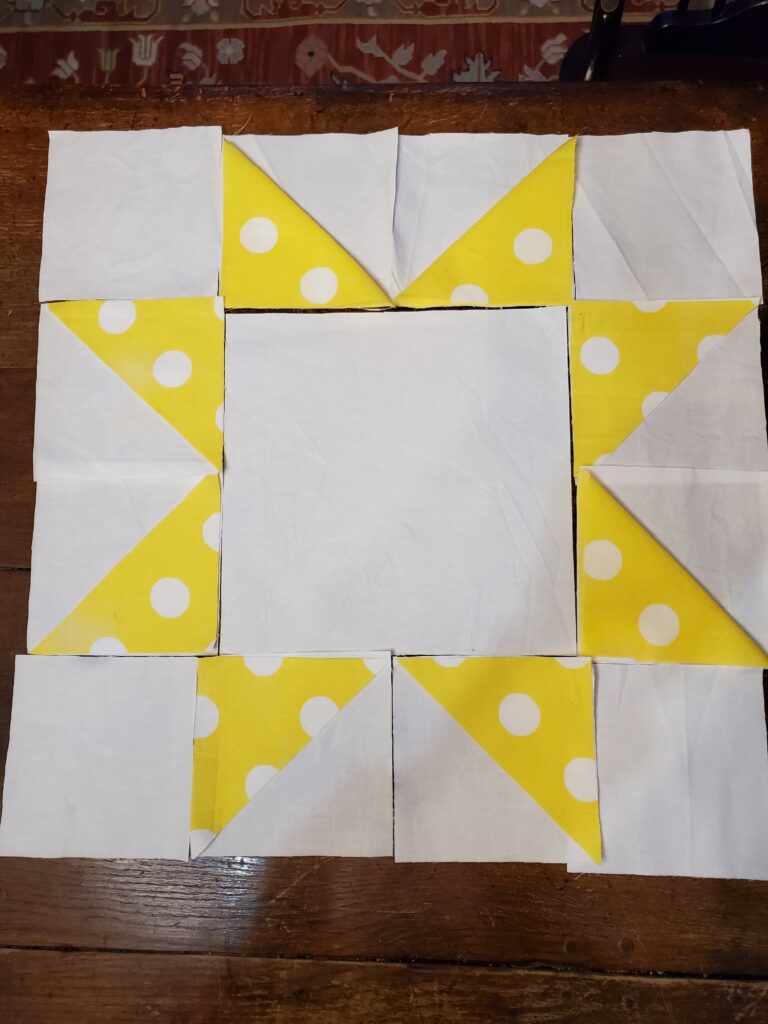
I have been working hard…and quilting, which is actually very satisfying and fun! I have created a block for the quilt. I need 6 of these to stitch together into the quilt front, so only 5 more to go!
Inquiry and Edtech learning
This is the category to apply to your Free Inquiry posts.

I have been working hard…and quilting, which is actually very satisfying and fun! I have created a block for the quilt. I need 6 of these to stitch together into the quilt front, so only 5 more to go!
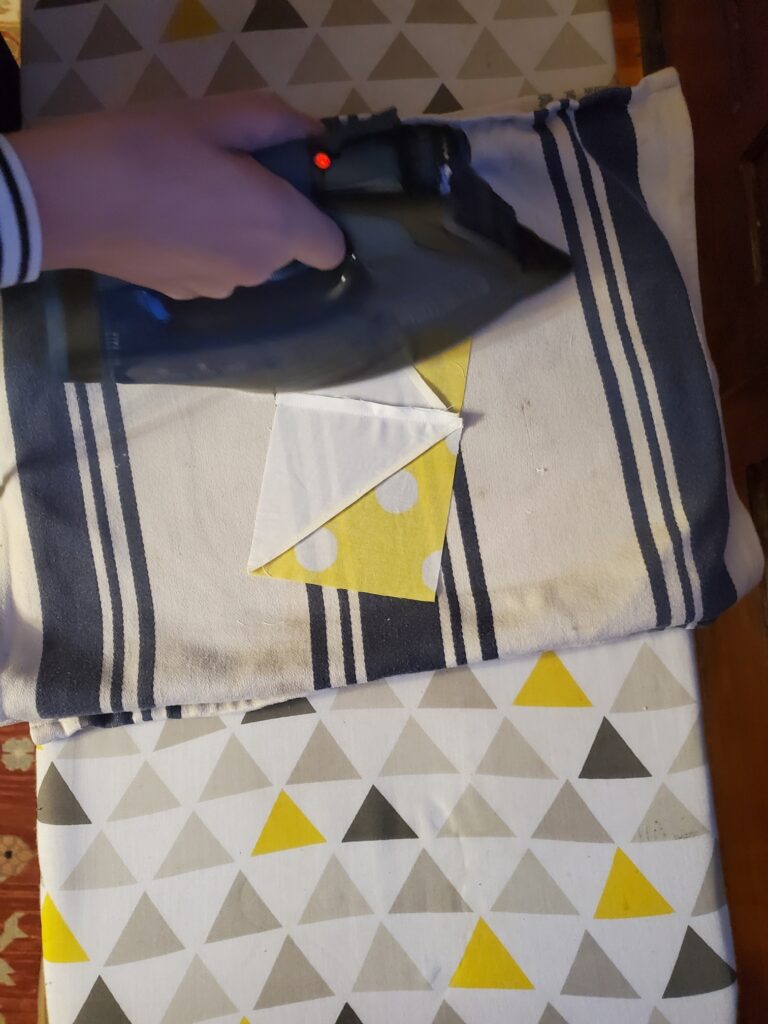
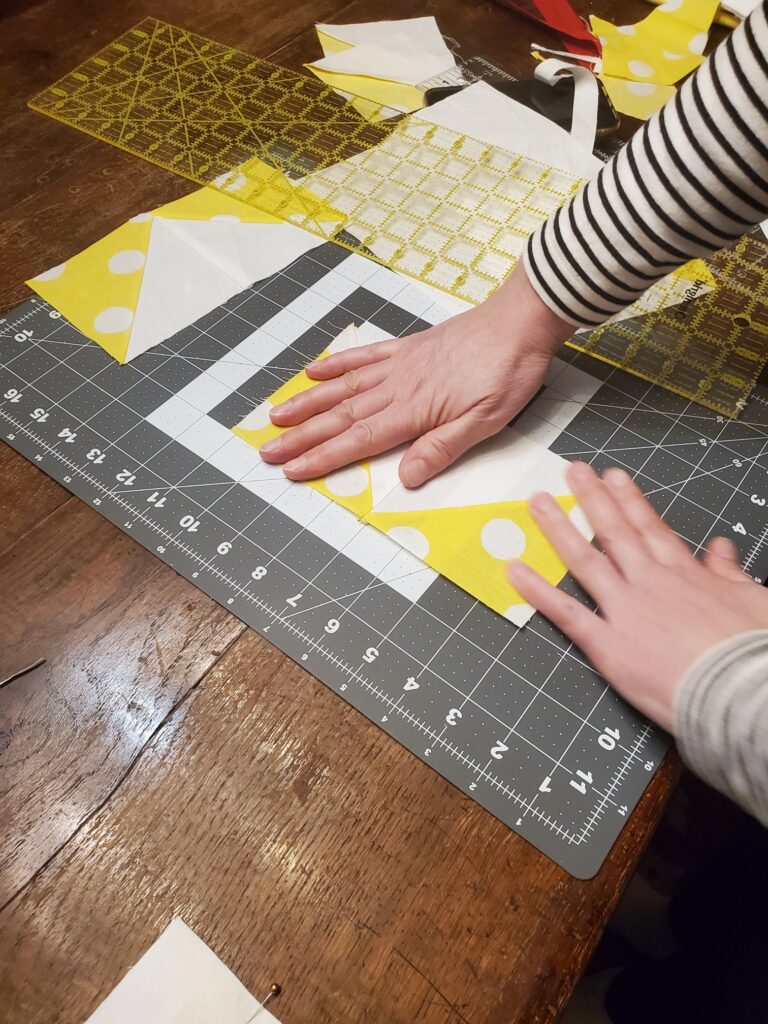
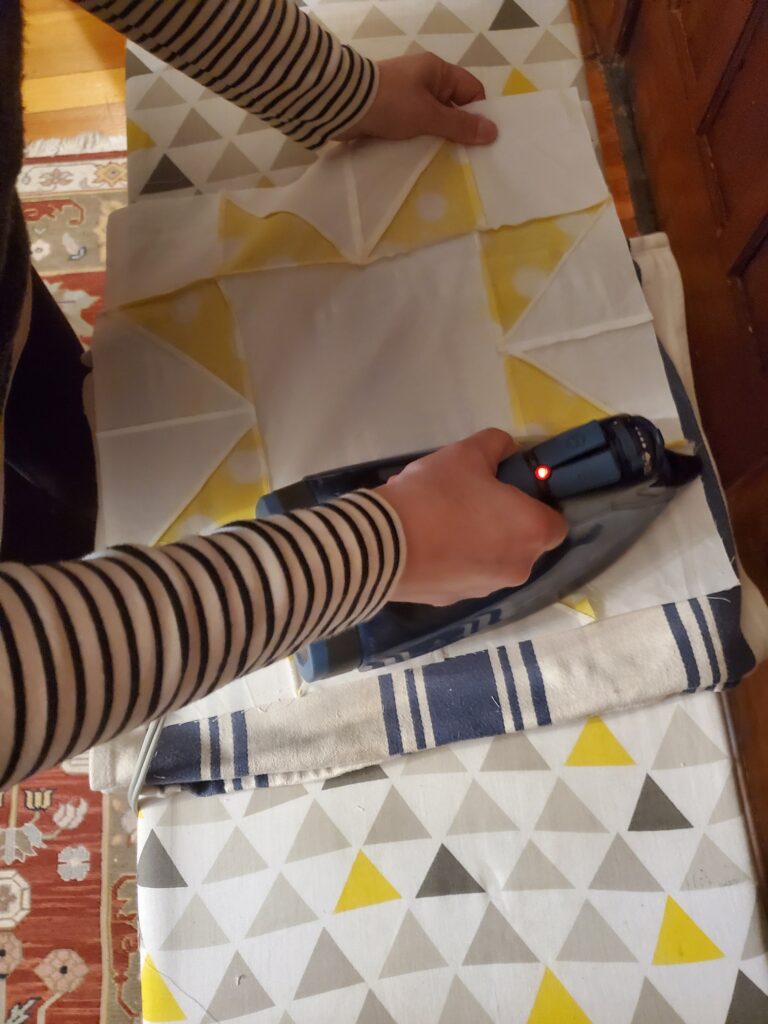
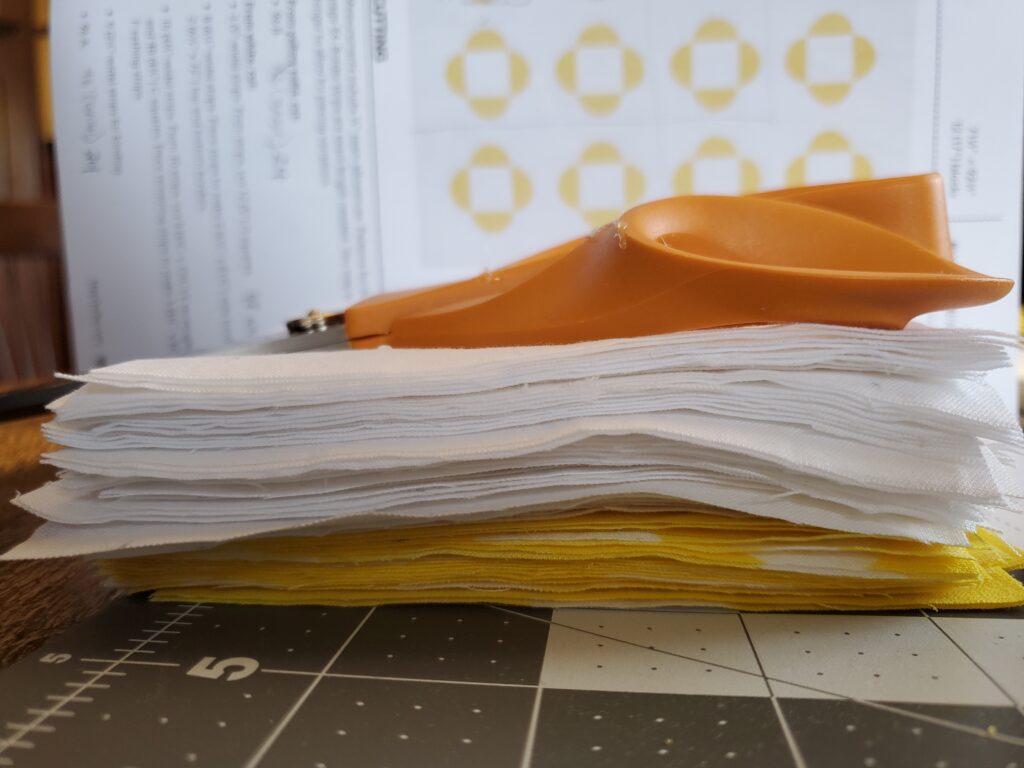
I have started sewing the little squares together. I worked out a quick way to do this, by sewing two squares together, sewing one line of stitching down the left side of the centre diagonal, then sewing another line of stitching back up the right side of the centre diagonal line. I sewed one yellow square and one white square, right sides together, then split them into two pieces on the diagonal. Have a look at the video below to see what I am talking about. I have about 48 of these to sew and cut. Once that is done I will need to press the squares flat and ‘square’ them. Squaring the squares is a process of ensuring they are perfect 90 degree squares by measuring them along two sides and trimming them with the ruler, then rotating and repeating to the other two sides. This is well demonstrated in this video below:

I have been sewing all these little squares for my quilt, see the video below. My sewing machine is making some funny noises, so I am worried it might not last to see through this project. It is a mechanical sounding problem and the machine is possibly from the 90’s. Here is a screencast tutorial on how to sew the small squares together to make two squares with a triangle of white and yellow each, which is a real time saver.
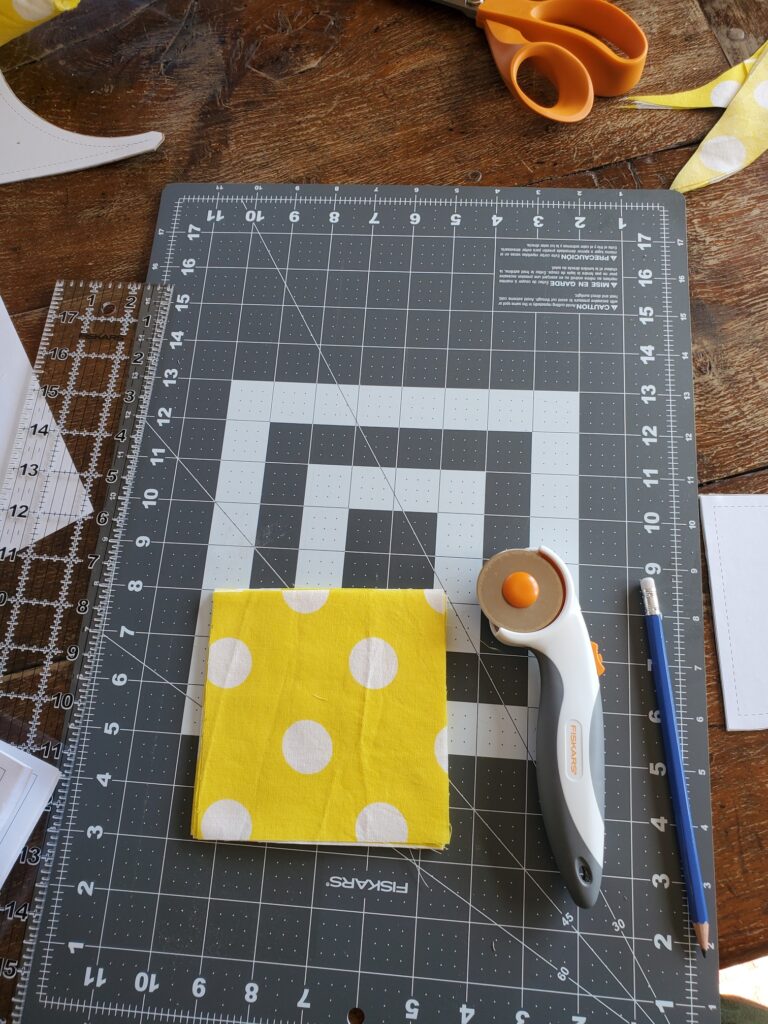
This was the scariest moment, cutting the fabric. Making sure I follow the lines exactly and tracing the template I created. After cutting out a few of these, I realized that it was going to be almost impossible to sew the curved yellow piece to the corresponding white curved piece.

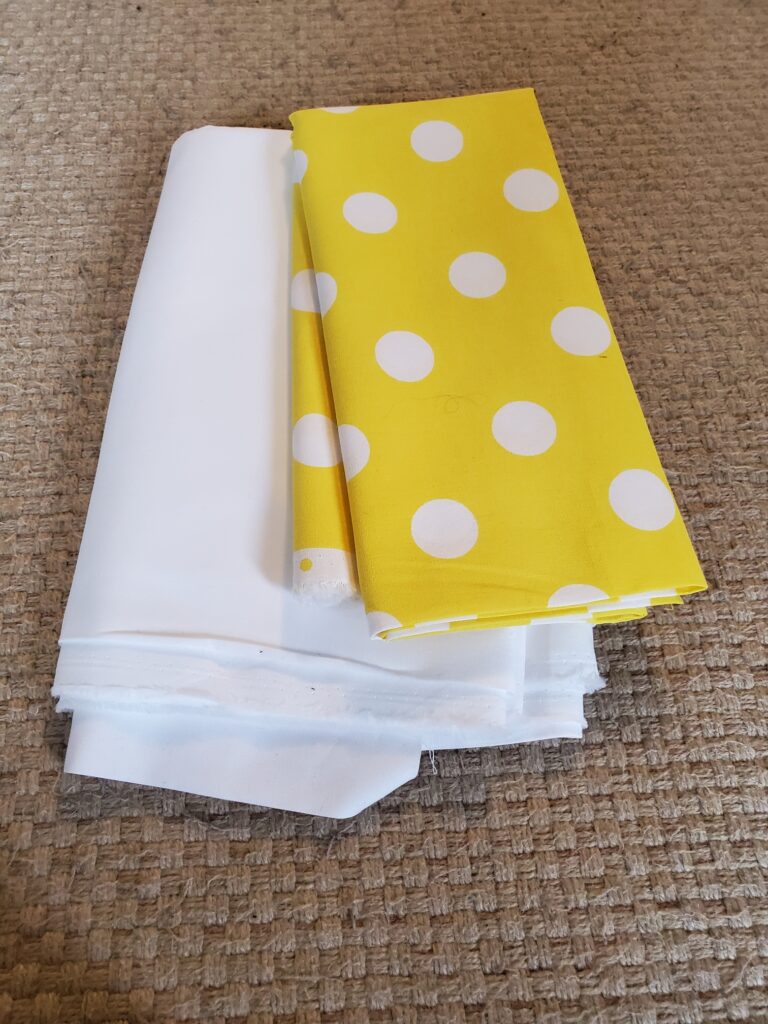
There are so many types of fabric, colours and prints to choose from! It is so overwhelming to visit the fabric store. One website I found that helps choose fabric is this one. Silver bobbin website helps with the weight and type of material best suited for quilts. I really like the white and yellow of the pattern that I chose, so I am looking for something that will match that colour scheme, since my quilt will be for a baby and I don’t want to stereotype the colour for the baby’s gender.

My lovely friend came over this weekend to give moral support for the first cut of the fabric, something that has been scaring me for weeks! I had to wash and dry the fabric before cutting to make sure it doesn’t shrink in a warped way when it is in the quilt.
Careful fabric cutting is very important to have a beautiful quilt. Here is a video which demonstrates the techniques for beginners which I found helpful. It also shows how to measure pieces, which is not as easy as it might seem!
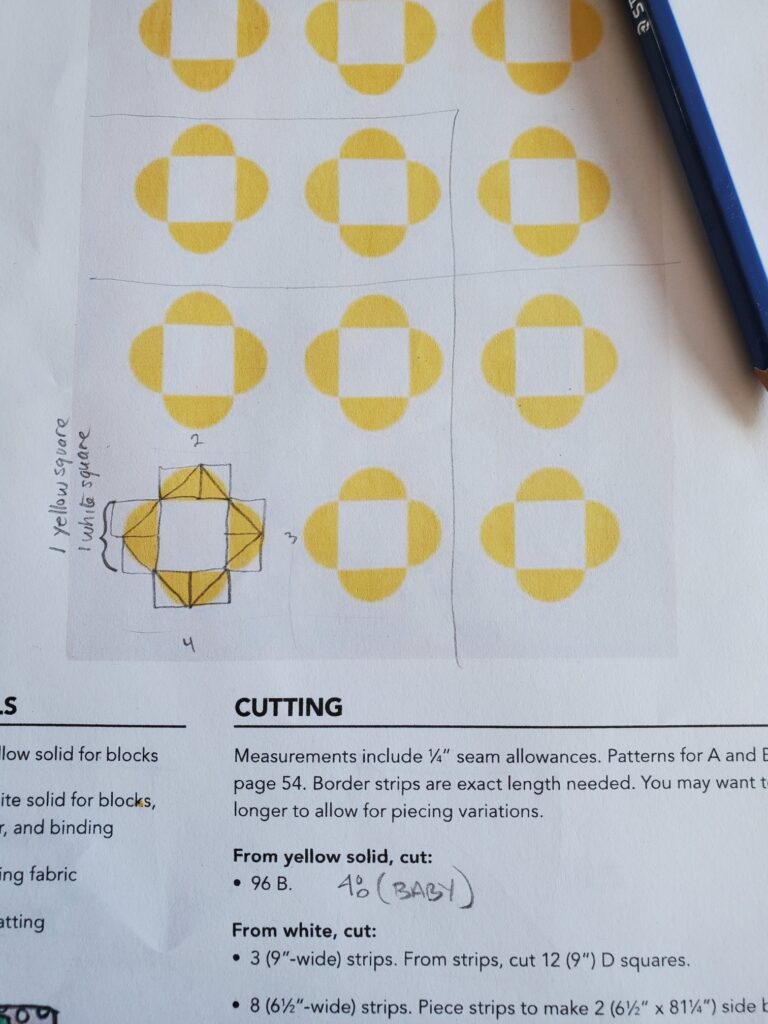
One problem with the pattern: I can cut the curved yellow pieces, although it takes a long time, but sewing them together is almost impossible! My experienced friend said that even she would not attempt to sew the curved pieces together. The problem is that you have to sew together the curved yellow and its corresponding white outside curve to complete the square, right sides together, but the curved edges don’t match up at all! So we did a sneaky redesign, making each curved yellow into a triangle, which will make it possible to cut and sew more quickly and easily for a beginner like me!

Since I am making 6 large blocks to sew together(half of the pattern), I calculated that I need 24 of these yellow squares. I also need 24 white squares, plus 16 more of the same size for the corners of the blocks, in addition to the strips of white to join the blocks together and a which square for inside each block…phew!
Ok, I have to admit, I’m getting ahead of myself. I am nowhere near this sewing, quilting or finishing stage of the quilt yet. But I am really curious how this big bit of fabric is going to turn into a quilt? Do you have to sew the fancy stitching overtop of the the quilt you lovingly sewed together? Doesn’t that ruin the lovely thing you spent so long cutting and sewing? And how do those professional looking quilts have those fancy patterns on them!? (see below photo!)
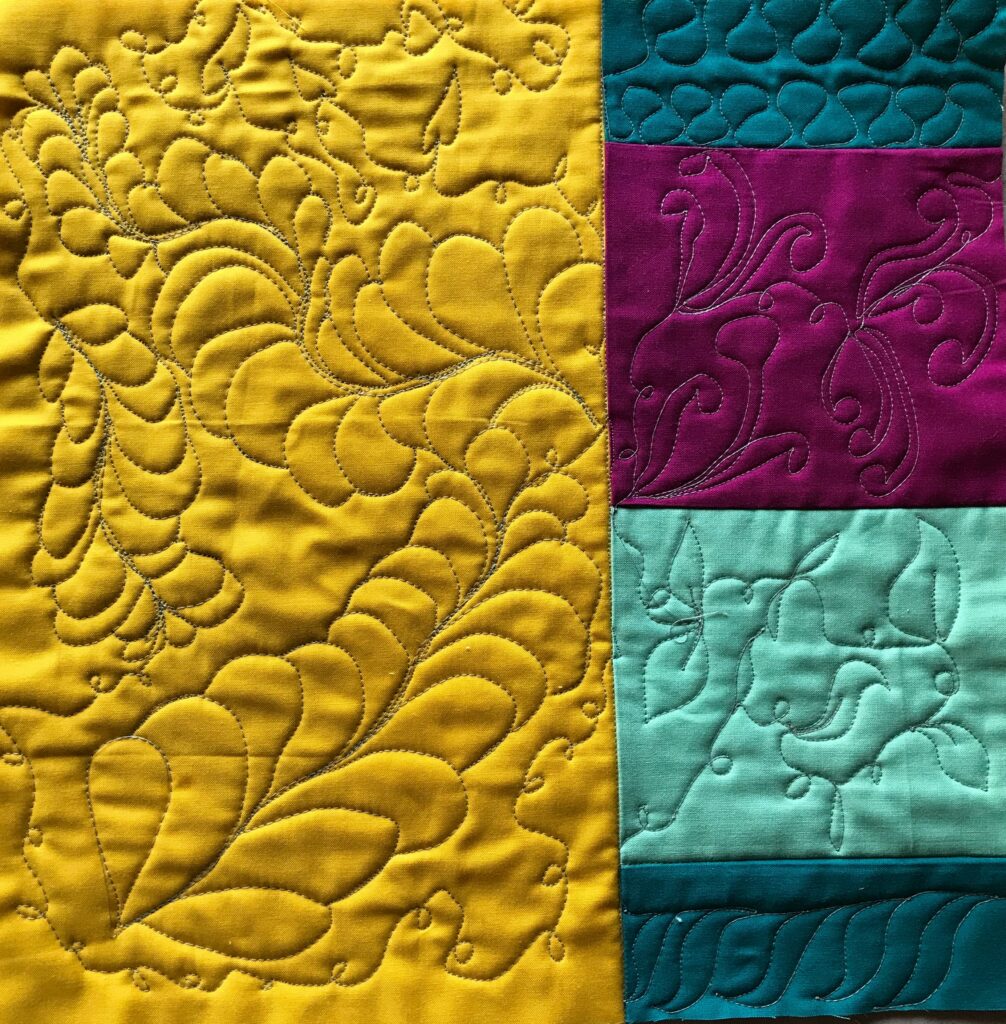
I have talked to some experts (Claire) and she advised me that you need a long arm machine to make fancy stitching patterns on the top of the quilt, and that straight lines are advisable for a beginner. 🙂
I found this tutorial with photos which gives some guidance about quilting, basting, and finishing the quilt from Cluck Cluck Sew website:
https://cluckclucksew.com/wp-content/uploads/2015/08/Finishing-your-Quilt-Guide.pdf
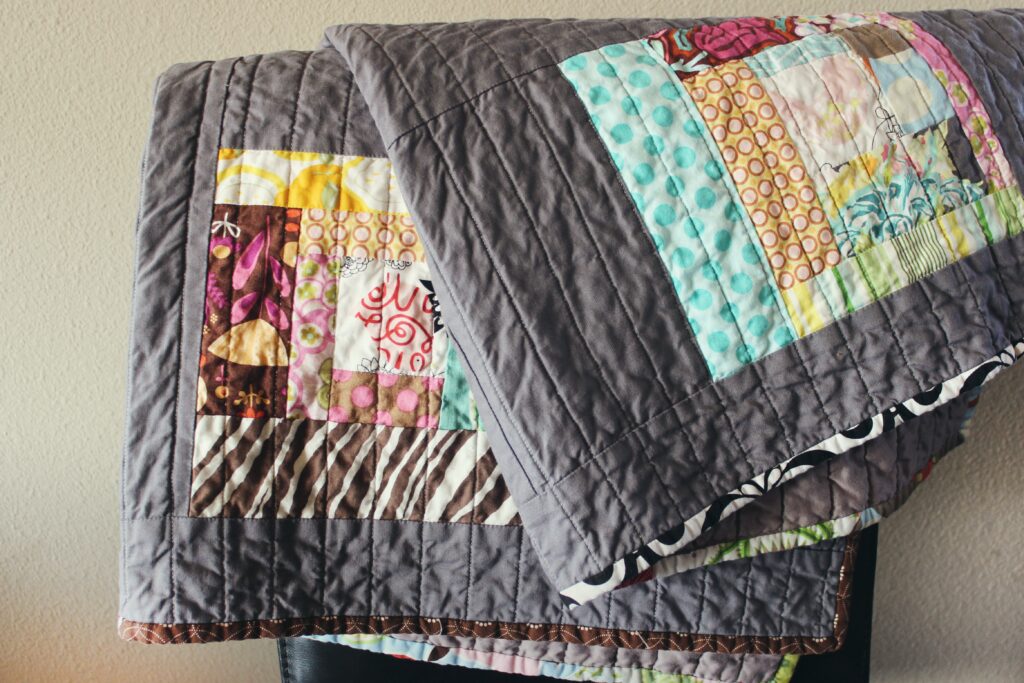
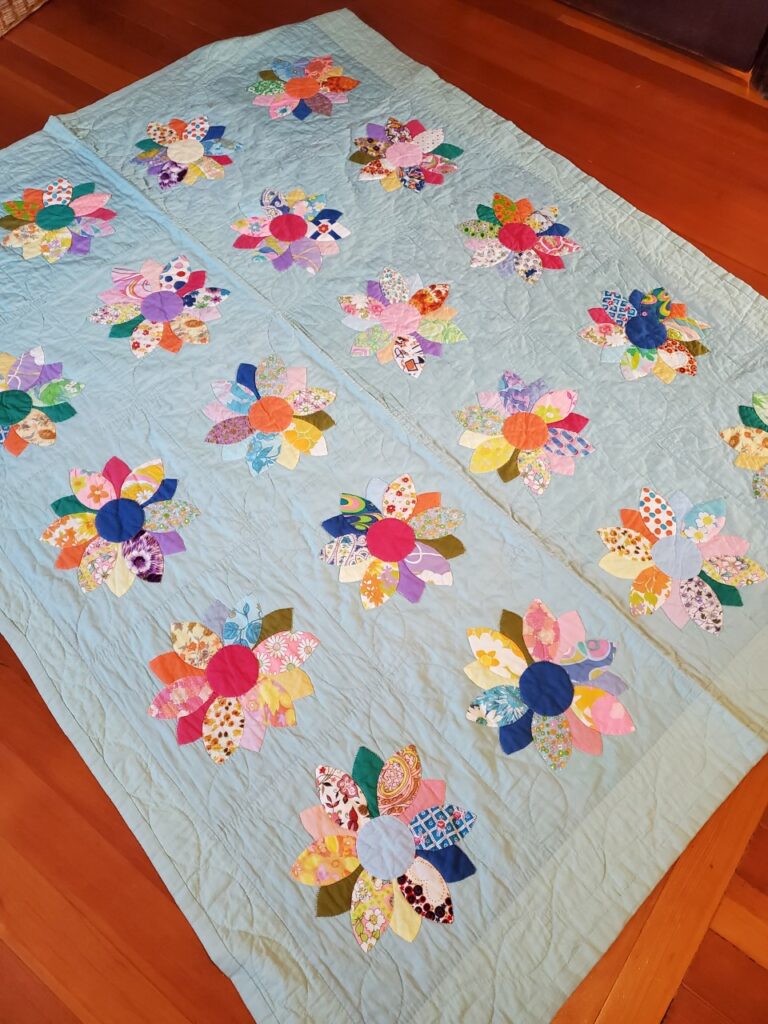
I love this quilt with the grey border and colourful pieces on the inside blocks. It reminds me of the quilt my great-grandma made with scraps of fabric from her sewing box. It could be a lovely memento for someone from all the baby clothes from their kids or other special fabrics they have collected. To my untrained eye, it looks like an achievable quilt for a beginner.

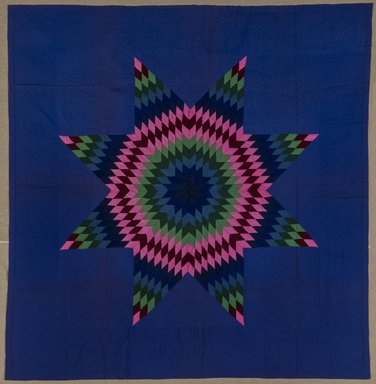
Star of Bethlehem Quilt, 1940 from the Brooklyn Museum. Source: Quilting – Wikipedia
I am planning to pursue quilting as my inquiry. It is something that I have wanted to do for several years since a friend of mine showed me the amazing quilts she had created. I have always loved sewing and have sewn several baby blankets for family and friends, but this is a new level of difficulty.

I don’t think I will get this far into a quilt project this term, but I would love to create something beautiful which is smaller. I’m thinking of a baby blanket as a gift!